Email
Facebook
Flickr
Instagram
LinkedIn
Pinterest
Better Off Thread
home
about me
Blog
free patterns
teaching
shop
0 items
$0.00
SIGN-UP FOR MY NEWSLETTER
Updates on pattern releases, discounts and more!
About Me
My Shop
Free Patterns & Tutorials
Latest From The Blog
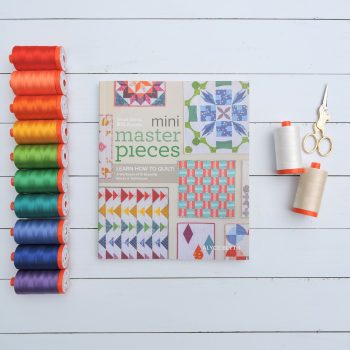
Mini Masterpieces Book Hop
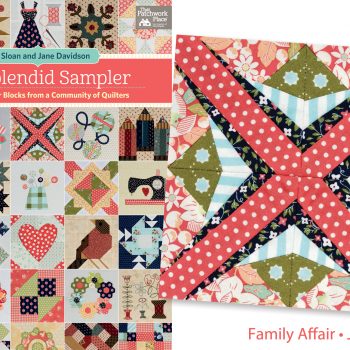
The Splendid Sampler Giveaway
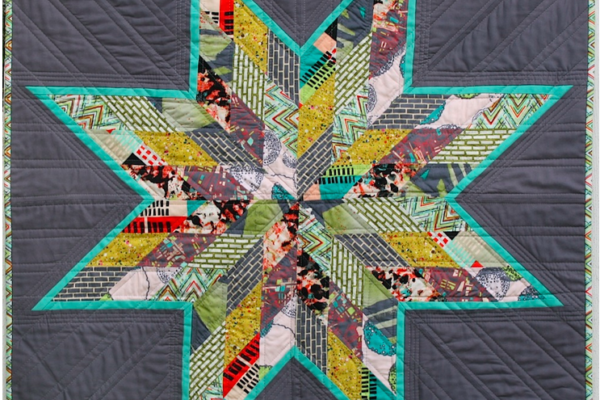
Spring Bouquet Wall Quilt
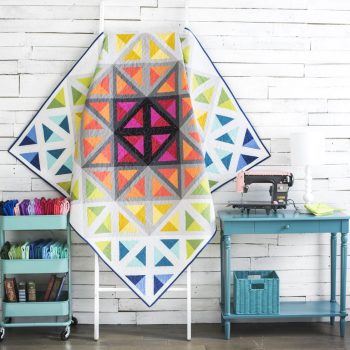
Boundless Patterns Now Available